When it comes to augmented reality, we are seeing a seismic shift. The combination of the emergence of WebAR (mobile browser based rather than app-based), combined with easier to use interfaces, is opening the door to business use cases like never before. But is this something that is realistic for the industry at large to adopt?
Few print shops have the expertise in-house to deploy complex AR scenes. If it requires hiring a new person or having third-party support, let’s face it—the market will be limited. Kind of like what would have happened with the digital printing market if the only printing device you could have purchased back in the 1990s was a high-speed inkjet press. But that’s not what happened. Eventually, smaller, less expensive digital presses came on the market. At that point, digital printing took off. What if it were the same with augmented reality? What if that’s the case now? That AR has become something that even small and mid-sized shops can deploy in-house? Would that change things? It might.
Get ready for change. In the July/August issue of Printing News, I will profile a start-up company called PaperJax that is building its business on solutions powered by augmented reality. Every one of its campaigns includes both a print and an AR component, and it sells and deploys these scenes with nothing but a software license, a digital and 360 camera, and a green screen. As a result, the costs of creating these campaigns fit into the budgets of even small to mid-sized businesses, which all of its customers are. All of PaperJax’s campaigns are also designed to generate revenue. In future articles, I will profile other companies using AR in real revenue-generating applications, as well.
I have written before about how easy this process has become, and that even shops without techie designers can do it. But is that really true? If it is, then I should be able to do it, too. So I decided to find out.
Here’s the my experience step by step…and the results.
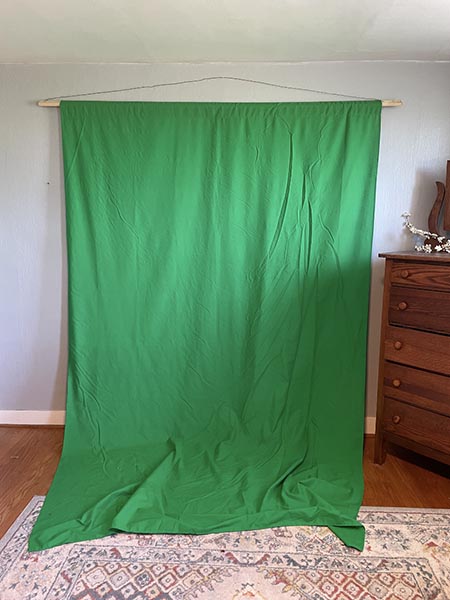
Step 1: Set up a green screen.
I purchased a green screen—basically, a sheet of lime green fabric with a hanging sleeve—from Amazon.com for $18. I used a piece of scrap wood and hung it on the wall in my office.
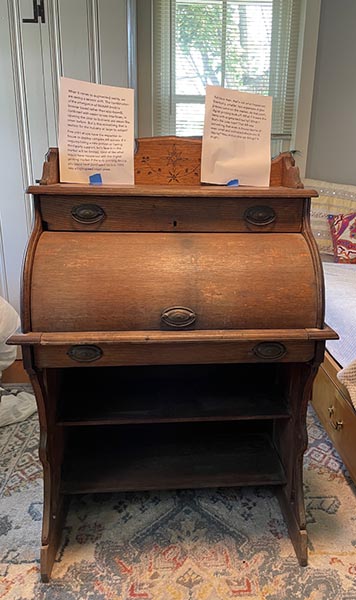
Step 2: Set up the video.
I set up my iPhone on an antique writing desk and moved the desk back and forth until the video captured me from head to toe, but with as little unnecessary space as possible.
Step 3: Write a script.
I created a short test script and printed it out in 24-pt bold type. I then taped the script to the top of the desk so it was about eye level to where I would be standing. This allowed me to read the script from a distance but appear to be speaking directly into the camera.
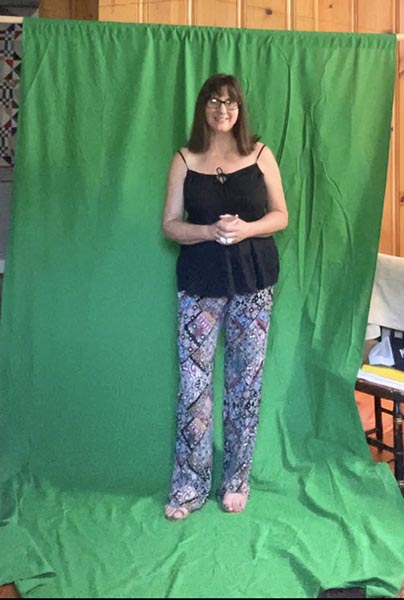
Step 4: Take the video.
It took a few tries (OK, it took a lot of tries), but I finally got a take that, for proof of concept, was good enough. Any background noise will get recorded as part of the AR experience, so as you can see, I ended up moving my video location to a quieter are to get a satisfactory result.
Step 5: Prepare the video.
Because it was an iPhone video, it was shot in .MOV format and showed the environment around the green screen. I used Adobe Express to crop the video tight so it showed just me, with the green screen behind, and converted it to MP4 format. Then I used AirDrop to transfer the file to my computer.
Step 6: Set up the holotwin.
I logged into a test account at RealityBLU. I then followed these sets of instructions:
- Give the project a name. I chose “Meet My Holotwin.”
- Choose a splash screen. This is the first screen that the users sees, with the big purple button, “START HERE.” I chose the simplest splash screen from the four available standard options. (Custom splash screens can be created.)
- Choose a reticle. This a little stick figure that the viewer sees through his or her mobile phone screen that is used to place and anchor the holotwin to any flat surface in the user’s environment. I chose the one that was the most simple and that I thought would be the easiest for viewers to read.
- Choose the number of buttons (up to four) to be used in the AR scene. I chose one and labeled it, “Learn More.” Since RealityBLU gave me free access to its WorldViewAR platform to create this holotwin, I added the hyperlink to its website. But you could use these buttons to point to anything—landing pages, downloadable content, donation platforms, or to serve other functions, such as make a phone call, send an email, or even launch Google Maps.
- Upload the video and choose a “chroma color,” which is set to default as the lime green used in green screens floating in white space (but can be changed if you use a background of a different color). As soon as the video uploaded, the green screen background disappeared and I could see myself floating in white space as I was speaking.
- Set up SEO/social sharing. I gave this experience a title, wrote a short description, and uploaded a screen shot of my holotwin that I could use as a thumbnail in corresponding text marketing.
- Save and preview. I hit “save and preview,” and in less than a minute, I had a QR code and hyperlink pop-up on my screen ready to share in print, digital communications, and social media.
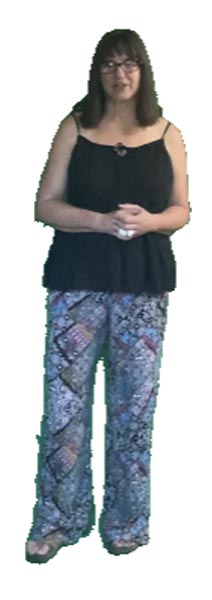
Heidi's holotwin as a thumbnail preview image for text marketing.
Once I had the video ready to upload, it took me no more than five minutes to go through these steps.

Scan to see Heidi's holotwin come to life in front of you.
The most difficult part of the experience was getting the video right. Writing a decent script that wasn’t too long. Delivering it in a way that wasn’t too boring. Not messing up the delivery. Making sure I didn’t accidentally reveal the carpet by pulling up the bottom of the green screen with my feet. Trying to keep the glare off my glasses—all the things that are the standard purview of professional videographers, but with a little effort, can be done without one.
In crafting this experience, the biggest thing missing was better lighting. This would have made my holotwin sharper, especially at when blown up to a larger size as viewed through a mobile screen. If I were operating in a print shop, with an actual studio setup, the holotwin would have looked even sharper and clearer. But this is a proof of concept, and for something set up in a morning in my home office, it makes the point that I was trying to make. If I can do it in my home office, you can do it in your print shop.
Is AR ready for widespread industry adoption? Judge for yourself—and keep an eye out in the July issue of Printing News for how PaperJax is using holotwins and AR portals to drive business for its customers in real revenue-generating applications.
Please post your thoughts. Let’s generate discussion.