Inkjet can be fickle technology if proper maintenance is not completed on schedule. Regardless of the pigment or UV chemistry, over time print heads can start to show deviation in the form of density shifts, or jet-outs as single nozzles or a block of nozzles deliver print voids or color shift.
Cross process density can change drastically without proper maintenance causing consistent visual banding in the process direction of the print. Head wear can cause cross density/uniformity visual disturbance that is seen in one process color the width of the printhead. In this case, calibration is needed to readjust the print density of the heads across the press. If the density deviation is in smaller sections, such as chip sets contained within the print head, the process of fixing the issues is a little more complicated.
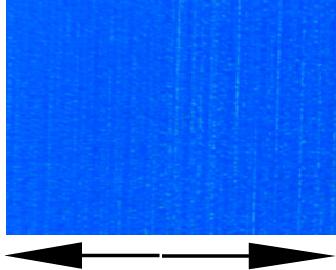
[caption id="attachment_5563" align="alignnone" width="2560"]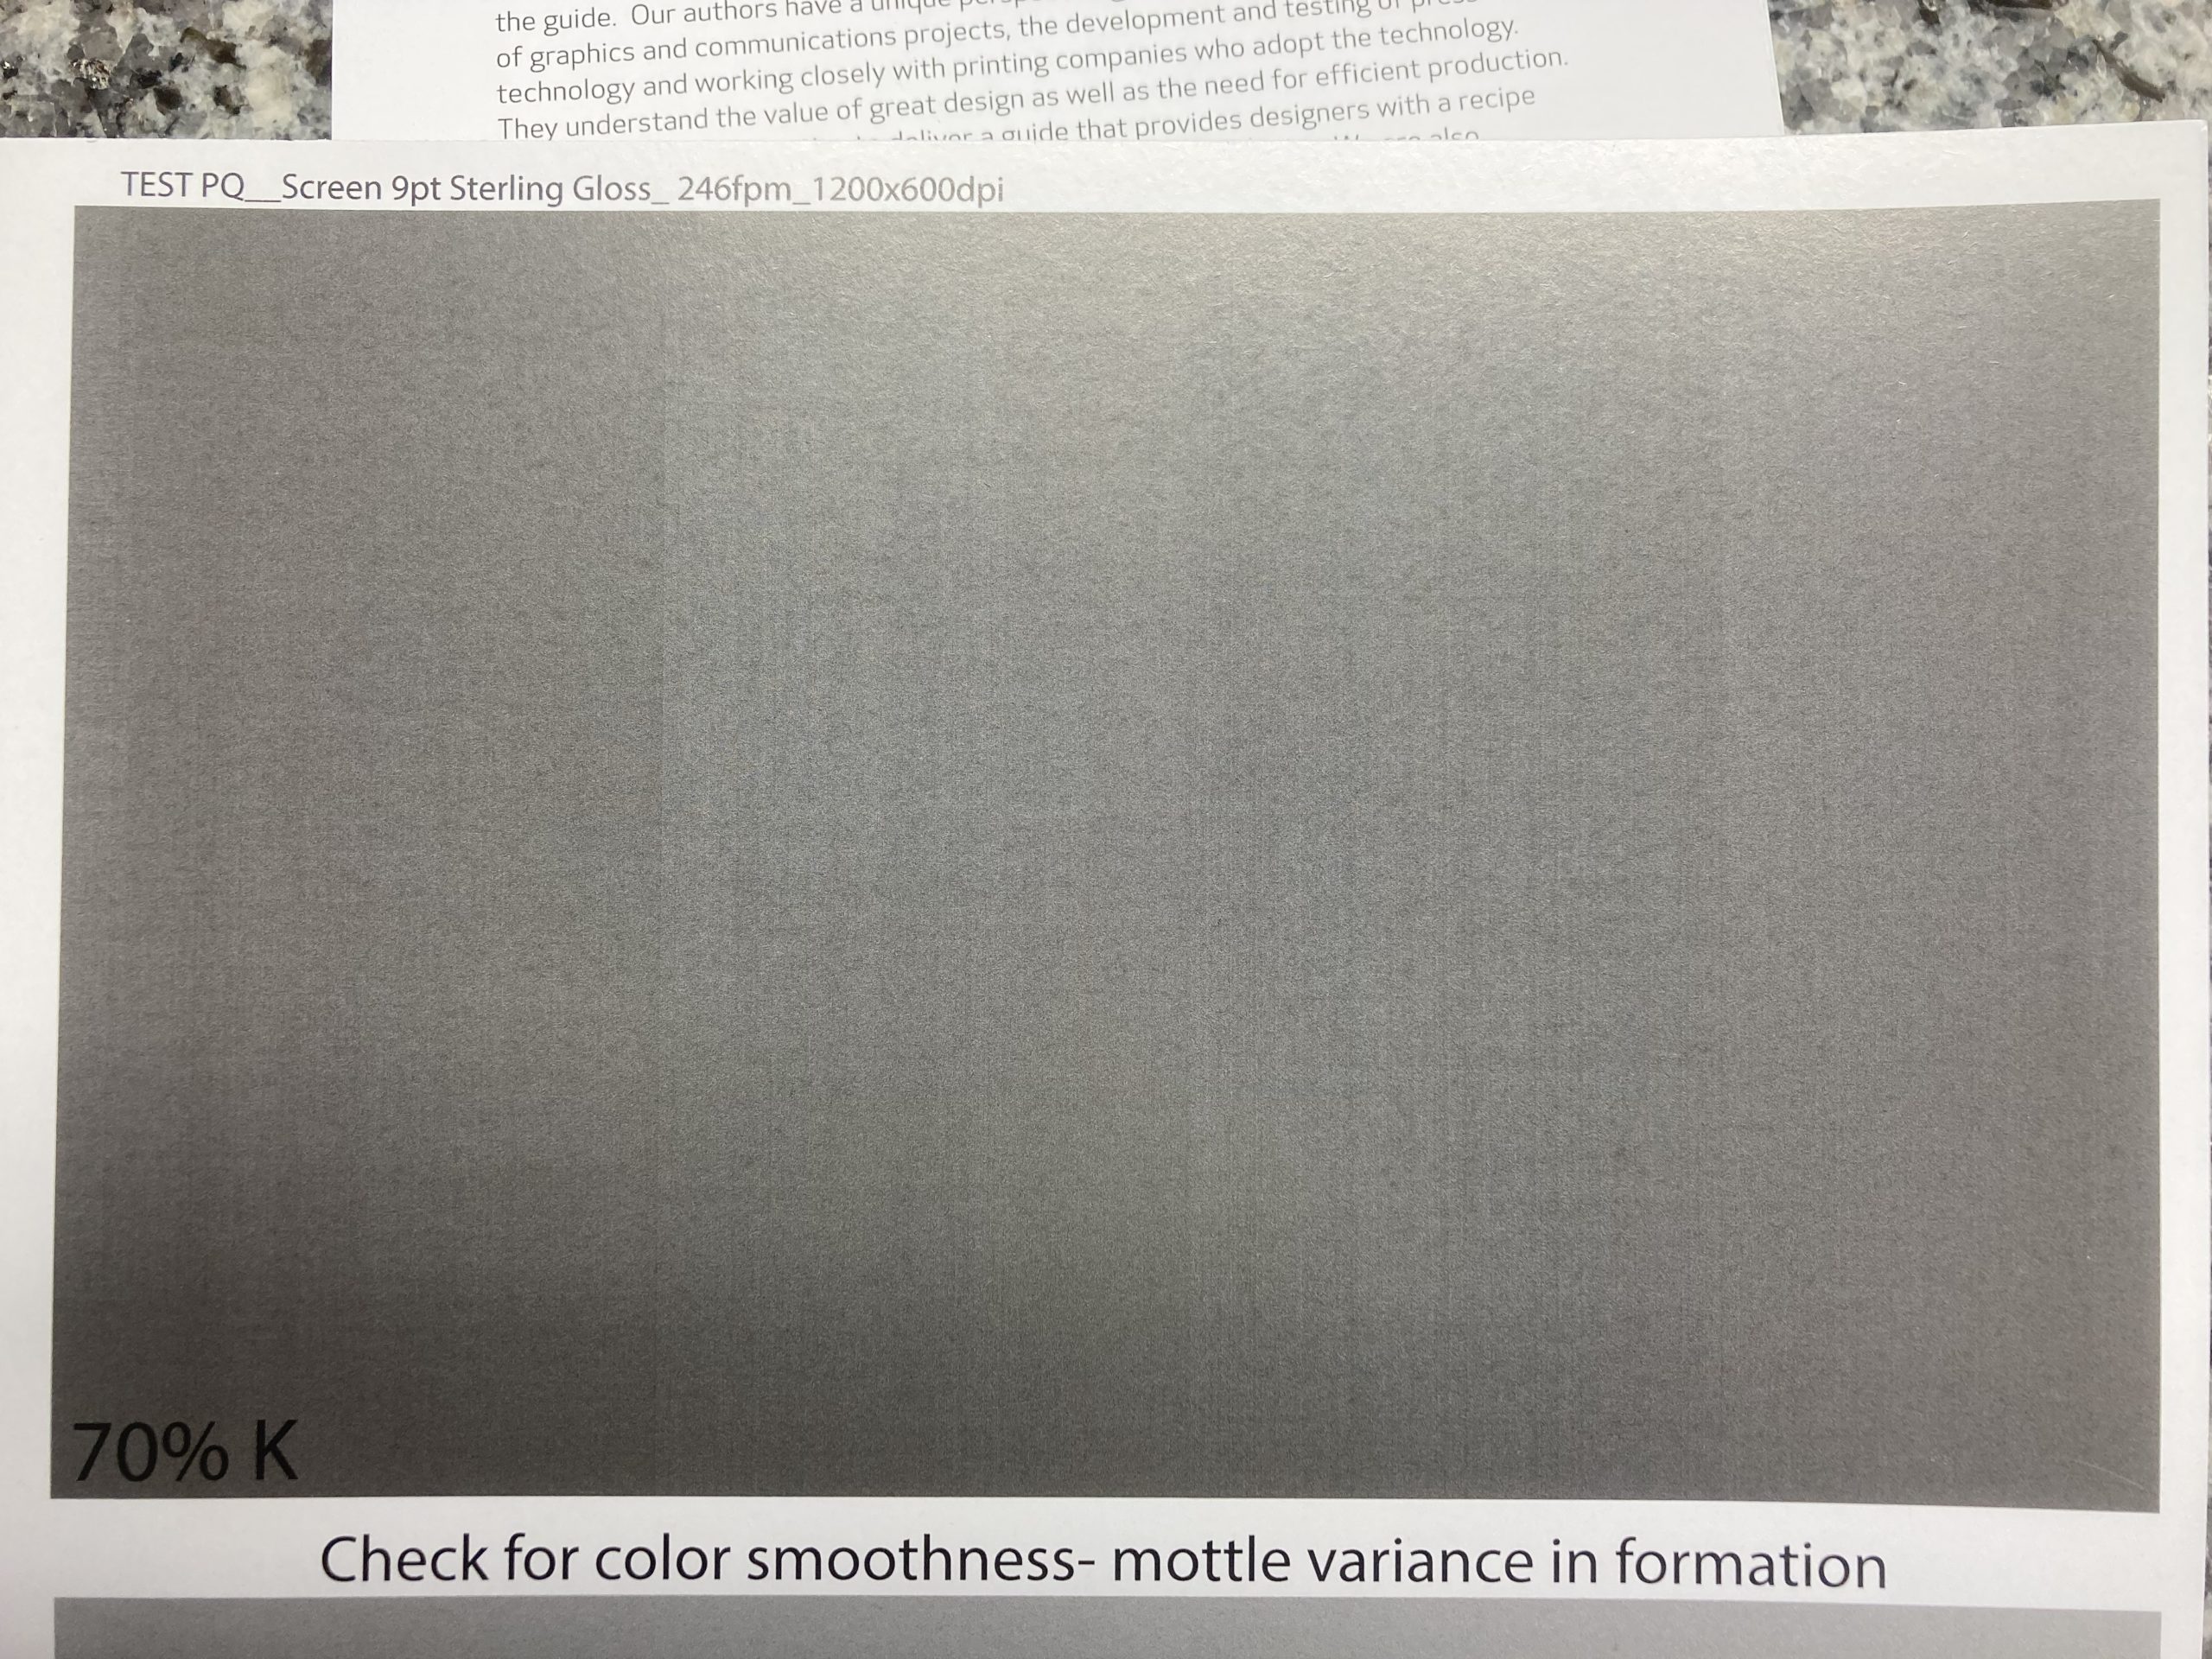
Image defines print heads jetting at different densities cross process
Aqueous Pigment printed on primed gloss paper- magnification @ 17µm[/caption]
When nozzle outages are seen few and far between cross web, a maintenance purge and wipe is needed. But when many jets are missing in an area, or within the print head’s chip set, this can show the beginning of overall printhead failure.
Primers and Wet-Out
Not all jetting issues are the fault of the print head. Surface primers added (inconsistently) at the mill or on press can create a surface of varied compatibility for the ink to properly wet-out. If the primer applied is jetting unevenly (primer heads can also change jetting volume), the jets will create variable individual lines, or line blocks, which don’t flow evenly on the substrate surface. This can be seen within a print as banding and incorrectly blamed on jet-outs. Be sure to review the problem areas under a microscope to verify the cause before you replace a head that it is not the cause of the surface compatibility underneath. You will waste a printhead and still have a problem. A great way to diagnose the problem is to change to a different surface coated/primed media to see if the pattern shifts or shows movement in press direction. You should also test by turning off primer if that option is available.
[caption id="attachment_5564" align="alignnone" width="269"]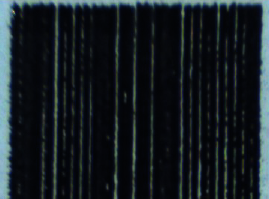 UV ink jetted as 100% black printed on white PVC showing low wet-out
-magnification @ 32µm[/caption] [caption id="attachment_5565" align="alignnone" width="336"]
 Aqueous pigment ink with uneven primer application seen on right of image due to uneven wet-out of ink
-magnification @ 32µm[/caption]
Unfortunately, print heads won’t last forever. The more hours/days/months of fluid jetted through a print head (color or primer) the more likely it is that you will start to see failures in the process direction as visual voids. Looking for these types of issues should be part of the standard print quality review process.
The Art of Observation
Often on press floors, proper lighting or light booths are not available. Without the appropriate lighting, it’s easy to miss print quality issues as they are occurring. Print head issues for many jobs may go unnoticed by the print buyer. But as issues continue, Murphy’s Law says, the largest customer and print run will be using color combinations and graphics that will highlight these voids and defects. If that happens, your customer will be left questioning inkjet technology, your quality review process or both.
I suggest that all my customers run a standardized test fingerprint at the beginning each production day or at least once a week depending on their overall volume. This process should be implemented into your quality control process, not just to observe and fix, but to understand if your machine is changing or drifting over time. Measuring this data with print samples allows a broader and deeper discussion when describing issues that need to be addressed with your service partner. Save the test prints in order to reference changes over time.
This test print used should span the max cross process print width of the inkjet device itself and include large thick bars of single process 100, 80, 60, 40 and 20% CMYK and secondary mixed colors (red, green, blue) of the same percentage values. This will call out any process color printheads and head locations which have missing jets or voids at a primary level. Evaluating at this level with various percentage values opens up the dither pattern making the test print compatible for all papers and media tested. As ink flows (wet-out) on top of the media or dives into paper fibers, ink spreads at different rates making higher value colors hide missing jets, whereas the lower values can show voids more clearly. The larger the blocks in the process direction will tell a better story if print issues are from heads, primer (jetted or anilox) or the substrate itself.
Take the Time to Evaluate
High volumes and busy press times often make standard maintenance a hard thing to schedule.
To ensure you are reviewing quality in the best light, be sure to move to a well-lit controlled area for print evaluation. As our vision changes, and we have more older techs than young ones in this market, it is suggested to always review prints using bifocals (reading glasses) even if you don’t necessarily need them. This opens up a wider aspect of detail viewing range than normal. It is best to nit-pick the print and understand what is happening than miss seeing the small things until they are so big they are an issue.
Assistance is Here
If you need help in evaluating the state of your inkjet device, reach out to Inkjet Insight. We have test prints and can provide diagnostic support to help you understand where in your print process your defects are happening.
Remember, print with your eyes wide open…